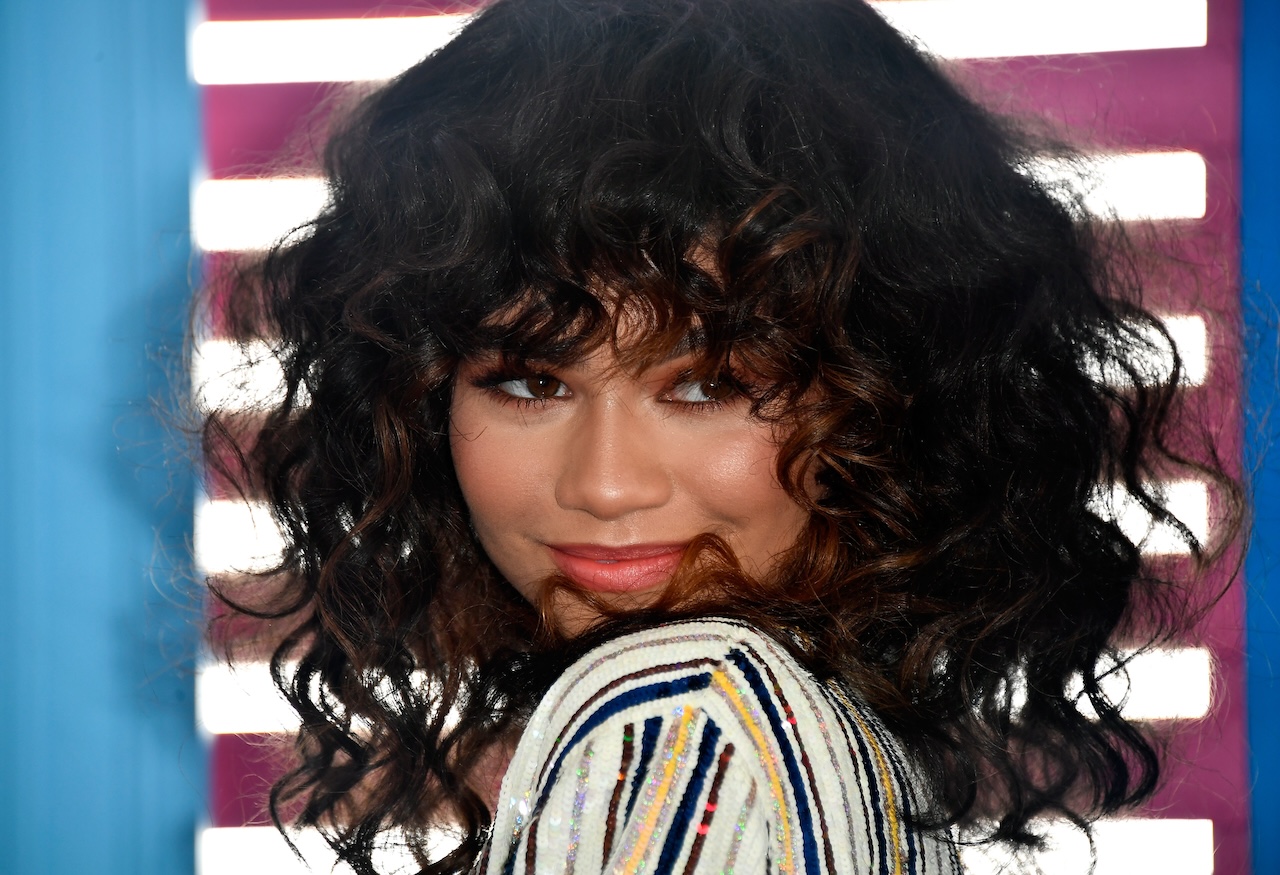

Calling all curl queens! Are you tired of taming your tresses with scorching hot tools, only to end up with fried frizz and lackluster definition? It’s time to ditch the heat damage and embrace the unique beauty of your natural curls.
With a few clever techniques and the right products, you can achieve salon-worthy bounce and definition without ever touching a flat iron.
So, grab your wide-tooth comb, your favorite leave-in conditioner, and get ready to unleash your inner curls.
1. The Power of Plopping:
Gone are the days of rough towel-drying that leads to frizz and chaos. Enter the “plop,” a game-changer for curly girls.
Here’s how it works:
- After gently cleansing your hair with a conditioner co-wash or your preferred curly hair shampoo, apply a generous amount of leave-in conditioner and styling cream.
- Flip your head over and plop your hair onto an absorbent microfiber towel or cotton T-shirt, gathering the fabric around your head like a turban.
- Let it soak up excess moisture for 15-20 minutes, et voila! You’ll be left with damp, defined curls ready for the next step.
2. Twist-out Magic:
This classic technique is a surefire way to achieve bouncy, elongated curls.
- After plopping, section your damp hair and apply a styling product like gel or mousse.
- Starting at the roots, twist each section away from your face until you reach the ends.
- Secure the twists with bobby pins or hair clips and let them air dry completely (or diffuse on low heat for faster results).
- Once dry, gently unravel the twists and your glorious curls will be revealed!
3. Bantu Knots for Tight Definition:
For tighter curl patterns, bantu knots are your best friend.
- On damp hair, section your hair and apply your go-to styling product.
- Starting at the nape of your neck, gather small sections of hair and twist them tightly upwards close to the scalp.
- Wrap the twisted ends around the base to create a knot and secure it with a bobby pin.
- Repeat all over your head and let the knots dry completely.
- Unravel them for beautifully defined, voluminous curls.
4. Embrace the Headband Hero:
This trendy accessory isn’t just for a bad hair day!
- For effortless waves or loose curls, simply wrap a satin or silk headband around your damp hair while pushing your hair up and away from your face.
- Secure it in place and let your hair air dry.
- When dry, remove the headband and enjoy your beachy, boho waves.
5. Diffuse Like a Pro:
If you’re short on time or need a little help drying your curls, a diffuser attachment for your hairdryer can be your saving grace. Just remember to use low heat and hover the diffuser over your hair, cupping sections to encourage definition. Avoid touching your hair while it dries, and voila! Frizz-free, voluminous curls with minimal heat damage.
Bonus Tip: Embrace your hair’s natural texture! Don’t be afraid to experiment and find what works best for you. Remember, healthy hair is happy hair, so deep condition regularly and use products specifically formulated for curly hair.


