


You have probably stood in front of your bathroom mirror holding a contour stick and wondered whether this whole sculpting thing is really meant for you. Maybe you associate it with cakey middle-school makeup, harsh lines, and an unmistakable orange tinge. That skepticism is more common than you think – and it turns out even beauty insiders who work with the biggest names in Hollywood understand exactly why so many of us feel that way. The difference is they know something most of us do not: modern contouring, done correctly, should be virtually invisible.
Why contouring still intimidates so many of us
The hesitation usually comes down to one fear – looking overdone. For anyone with fair skin or cool undertones, the idea of sweeping a brown product across your cheekbones can feel counterintuitive at best and alarming at worst. But formulas and pigments have become far more advanced than they used to be, and the techniques professionals rely on today are genuinely easier to follow, even for a total novice.
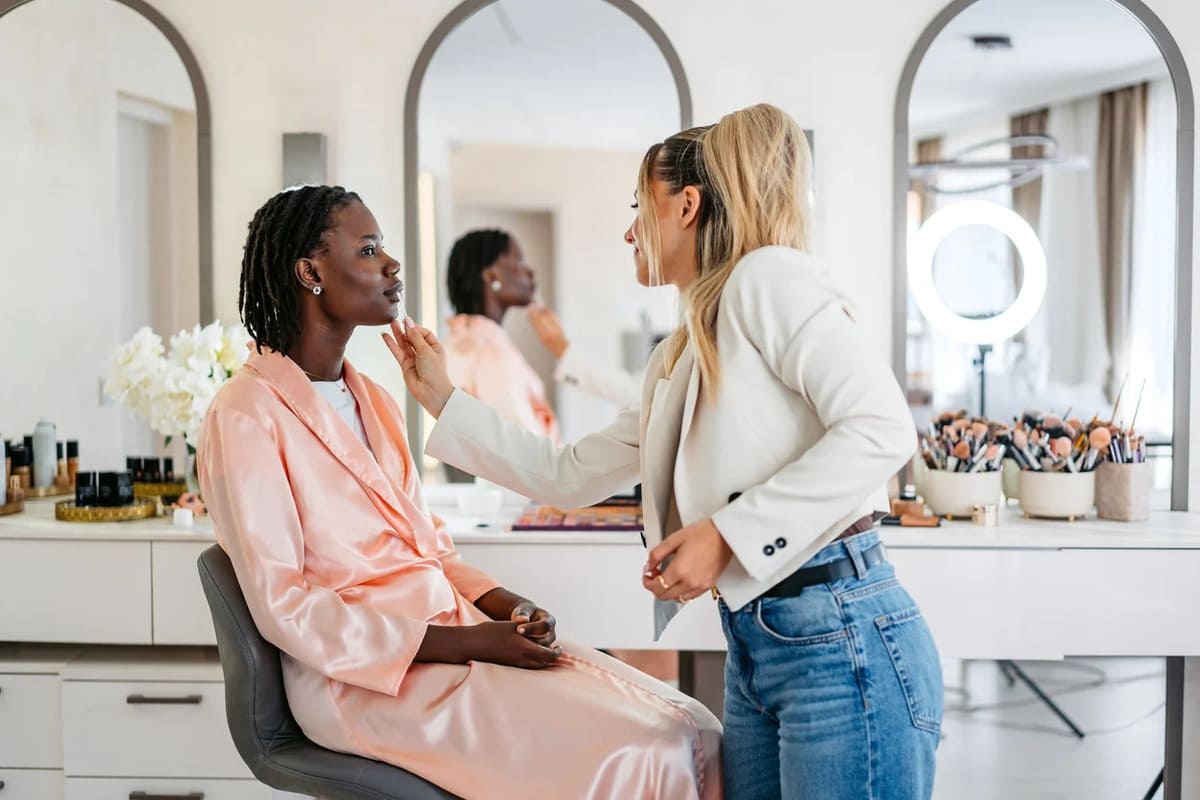
Mary Phillips, founder of m.ph Beauty and the makeup artist behind the faces of Hailey Bieber, Kim Kardashian, Kendall Jenner, and Kaia Gerber, suggests that the simplest way in is to focus on one feature at a time. Pick your nose, your cheeks, or your temples – whichever feels least daunting – and expand from there as confidence builds. Kelli Anne Sewell, who counts Kelsea Ballerini among her clients, offers a brilliant starting-point tip she picked up from fellow artist Katie Jane Hughes: look at yourself in the mirror and talk. The movement naturally reveals the hollows of your cheeks, giving you a built-in guide for placement.
The prep and product choices that make or break a natural finish
Before any contour product touches your skin, hydration is non-negotiable. Phillips explains that when skin looks hydrated and smooth, everything layered on top – concealer, powder, highlighter, contour – falls into place seamlessly. Sewell echoes the point, noting that the goal is simply to support the skin barrier in whatever way suits you. One effective approach is warming a nourishing balm, such as Bonjout Beauty’s Balm, all over the face for instant plumpness and then following with a few drops of something like Rhode Glazing Milk to add a slight sheen so makeup adheres better.
Next comes color correcting, a step that happens before everything else to smooth and even out your skin tone. Phillips designed a compact palette containing a color corrector, two highlighter shades, and two contour shades – all tools for her now-viral underpainting method, which involves applying contour, bronzer, blush, and highlighter underneath foundation. The key distinction she draws is that color correcting is not the same as concealing; a light, judicious touch with the lightest shade on dark circles or discoloration is all you need.
As for the contour shade itself, Sewell points out that your skin’s undertone acts like a lens, filtering or absorbing the undertones of whatever you apply. Her advice is to seek out formulas with strong cool or gray undertones, because you are essentially painting shadows onto the face, and shadows read cool. Warmth can always come later through bronzer and blush. A helpful rule: bronzer is warmer in tone, contour should be cooler. Both Phillips and Sewell prefer cream formulas over liquids or powders. Liquids tend to be sheerer and behave more like a tint because they stretch as you blend, while creams carry more pigment, hold their shape, and deliver the dimension needed for real sculpting.
Where to place contour for a lifted, sculpted look
The single biggest mistake both artists flag is using too much product at once. Working in thin layers is what produces a natural, skin-like finish – you can always build, but pulling product back is far more difficult. Both recommend beginning at the temples. Sewell describes drawing a diagonal line upward from the outer edge of the eye, over the tail end of the brow, and into the temple to define the eyes. Phillips adds that brushing upward from the brow tail toward the temple creates lift, and from there you can continue the product along the hairline and around the perimeter of the forehead, buffing softly as you go so there are no harsh lines.
For cheekbones, the instinct is usually to go too low. Phillips emphasizes working upward, hugging just under the highest point of the cheekbone rather than sinking into the hollow. The focus should be on lift more than depth – placing product strategically under the cheekbone and diffusing it upward into the temple and softly around the perimeter. For the nose, a small dense, fluffy brush or a sculpting stick like the one by Victoria Beckham allows precise, strategic placement; you sculpt upward toward the brow and buff gently to soften. Highlight then goes wherever light naturally hits – under the contour on the cheek, between the brows, and down the bridge of the nose – to create the contrast that makes the contour pop.
The final and perhaps most transformative step is Phillips’ signature underpainting finish: layering a sheer foundation over all of that sculpting work. Nothing lives in isolation – contour, highlight, and complexion work together underneath, so by the time a light foundation goes on, the result is seamless, sculpted skin. You should not see contour lines; you should see a lifted, balanced face with dimension coming through the skin. A touch of blush dabbed wherever the sun would naturally hit – the nose, the tops of the cheeks – ties everything together with a flush that makes skin simply look like skin.
What to take away from all of this
Contouring in 2025 is not the heavy-handed ritual many of us feared. It starts with hydrated skin, leans on cool-toned cream formulas, and lives under your foundation rather than on top of it. The pros behind some of the most photographed faces in the world agree on one principle above all: less product, more precision, and an upward direction for everything. If you have been avoiding the contour aisle entirely, one feature and one thin layer might be all it takes to change your mind.


