
News feed
Confession: I’ve never had a lash lift. I don’t know why… maybe I’m scared? Could I stand having my eyelids peeled back for half an hour in the name of beauty? I mean, I’ve been subjected to much worse (like having 16 needles injected into my jaw) but honestly, the thought of it freaks me out.
BUT, it’s okay. Because I have an alternative (one that allows me to blink whenever I want to). It’s a method that involves an eyelash curler, liner and mascara, and while three steps sounds like a lot, I promise you it’s an additional two minutes that will open your eyes and change your face (it will also earn you compliments from strangers, and who doesn’t want that). So keep reading for my lash-lift-how-to without the actual lash lift.
READ: BOTOX FOR JAW CLENCHING: I TRIED IT, AND IT WORKED
Step one: Tight Line
Think of this step as an optical illusion: in order to make the lashes appear longer/darker/curlier, you first need to beef up the lash line. Take a dark, soft pencil (black or brown is best) and warm it up by scribbling on the back of your hand a few times. Next, lift your upper lash line until the water line is exposed and softly trace the pencil along it, from the outer corner inwards. I like to trace over twice so the liner transfers to the bottom lash line. If you’re confident, add a tiny wing to elongate the eye and smudge it with your finger.
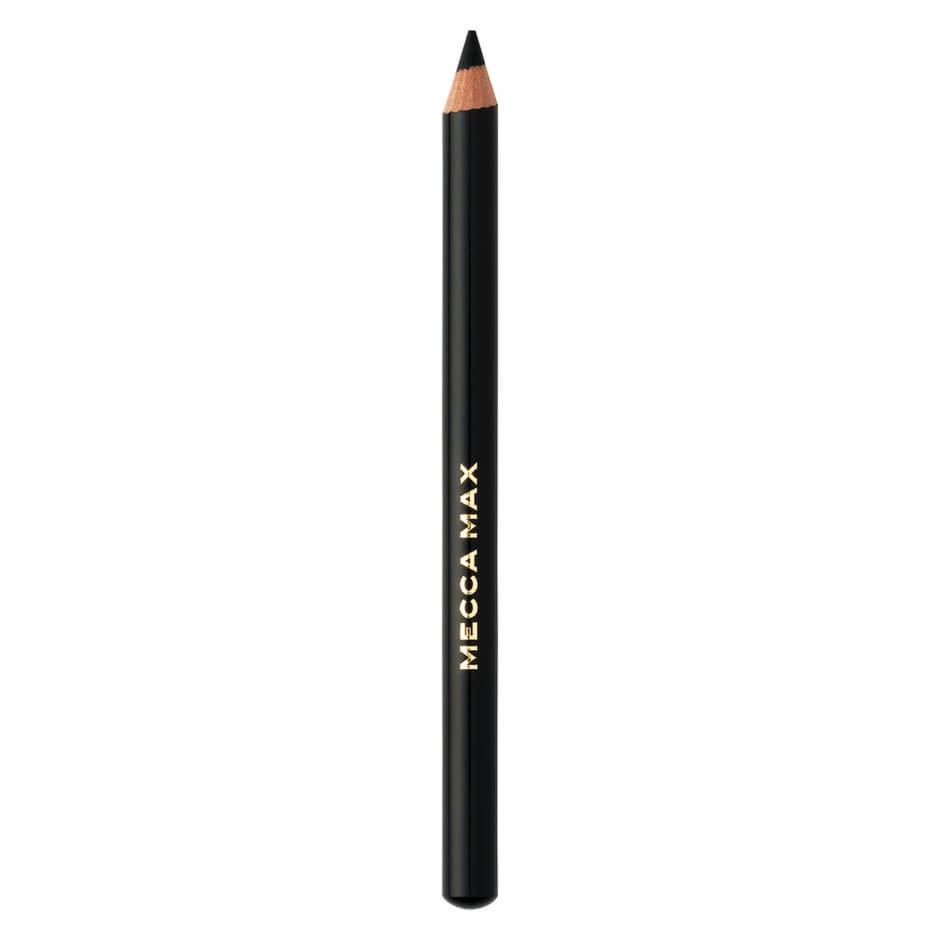
Mecca Max Eyeliner pencil in blackest black, $14. shop now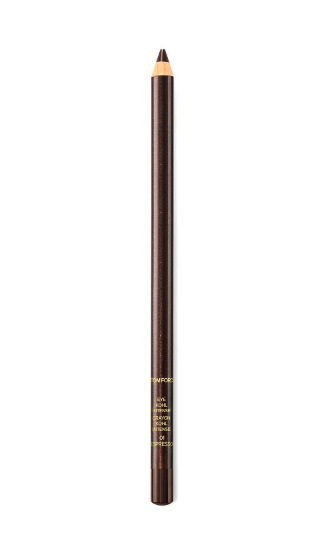
Tom Ford Eye Kohl Intense in Espresso, $55. SHOP NOW
Step two: Curl Your Lashes
A crucial but often forgotten step is the humble eyelash curler. Don’t be like Andy Sachs. Get yourself an eyelash curler and never look back. I find most are pretty good, but my current favourite is this one from Shiseido. It has a cushy rubber pad so won’t pinch and isn’t too rounded so works well with most eye shapes (including hooded, almond and Asian). I clamp it tightly around the base of my top lashes and pump it (gently) about 10-15 times. Don’t be shy but also don’t tug. It’s a delicate dance but worth it in the end.
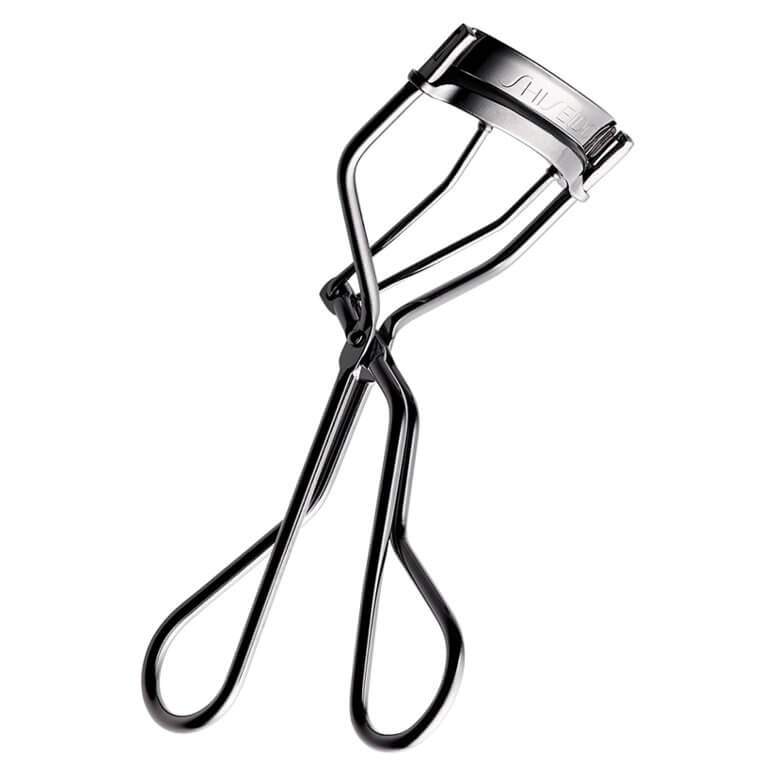
Shiseido Eyelash Curler, $35. SHOP NOW
Step Three: Apply Mascara. Lot’s Of It
It’s important to apply mascara while your lashes are open and curly, otherwise they’ll straighten back out and all your work will be for nothing. When it comes to your mascara, I really do believe 80 per cent of the heavy-lifting comes from the brush. If you want length and definition, go for a firm, comb-like wand as it will drag through minimal product, separating each lash. If you want them full and plush, use a soft brush that deposits more pigment. If you want curl, try a spoon-shaped brush to really push the lashes upwards.
Take the mascara wand (wiping off any excess if necessary) and starting at the root, wiggle through the lashes slowly and deliberately. I like to repeat this process four or five times for maximum impact. My personal thoughts are that if you let the mascara dry too much between coats, it will clump – so I like to layer up while it’s still wet and malleable. If it starts to clump, separate with a clean spoolie and leave it alone.
*The only exception here is if you’re using a tubing mascara, in which case you should do one to two coats max.Well, probably one but who really has that much restraint? Not me…
For length:
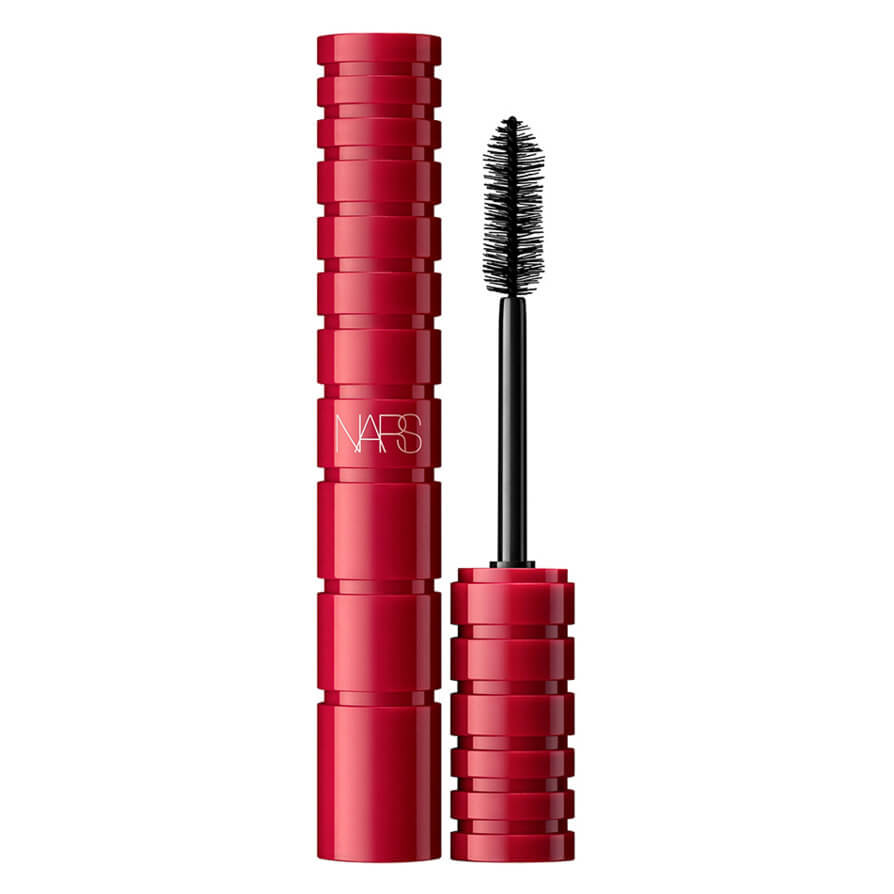
Nars Climax Mascara, $38. Shop Now
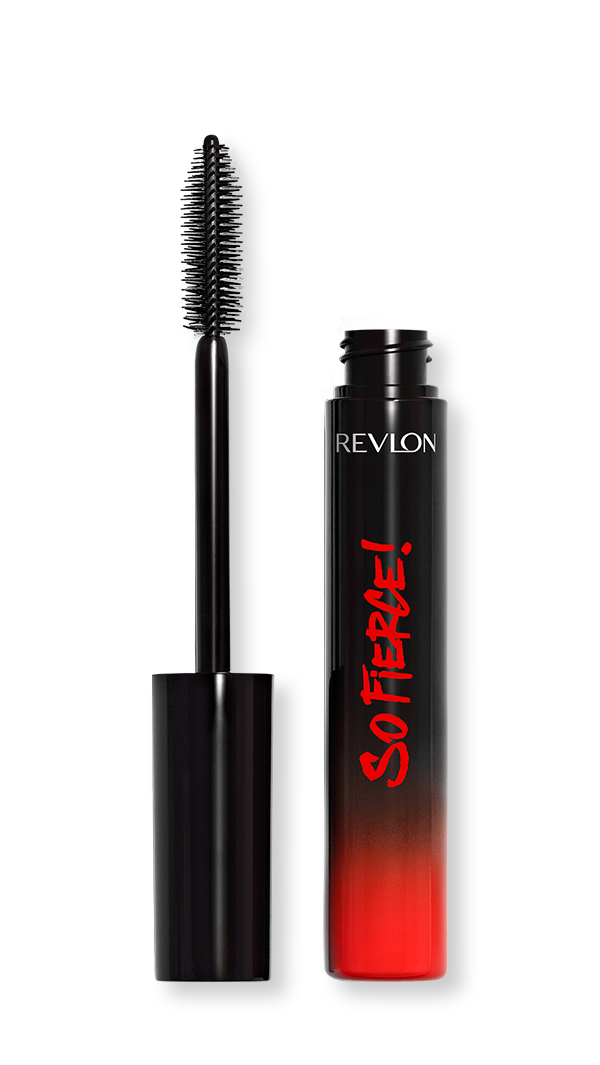
Revlon So Fierce Mascara, $22. SHOP NOW
For volume:
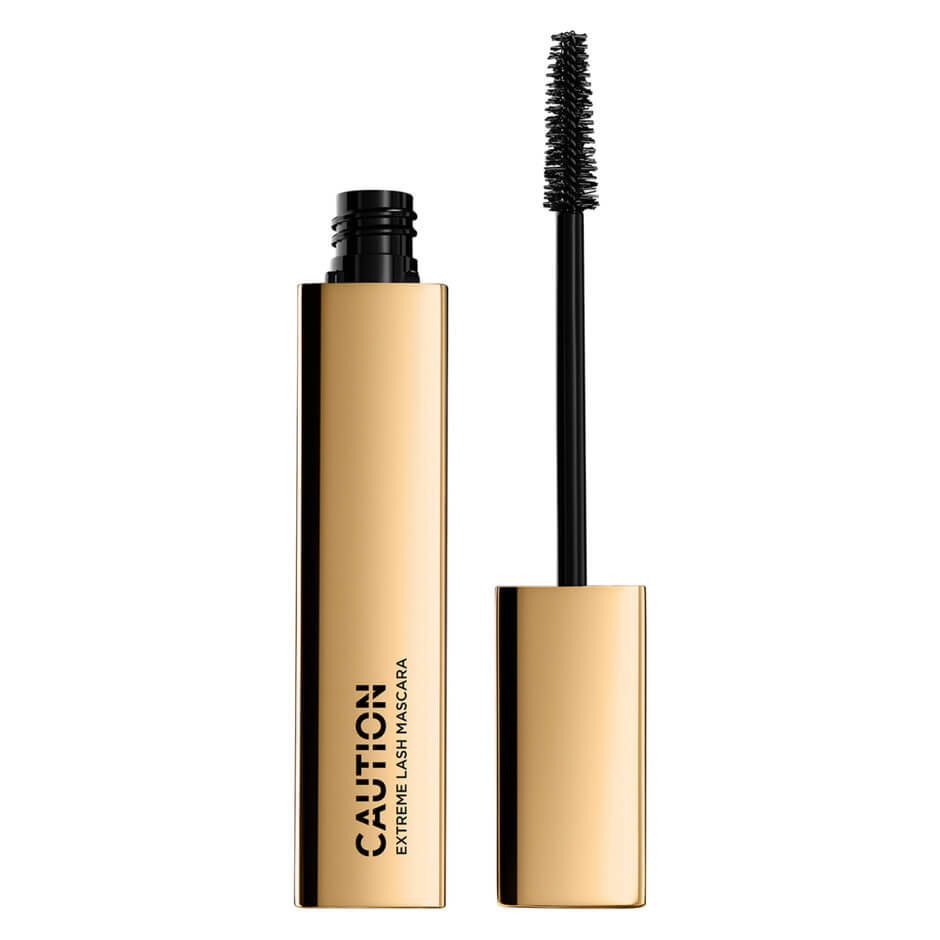
Hourglass Caution Extreme Lash Mascara, $46. SHOP NOW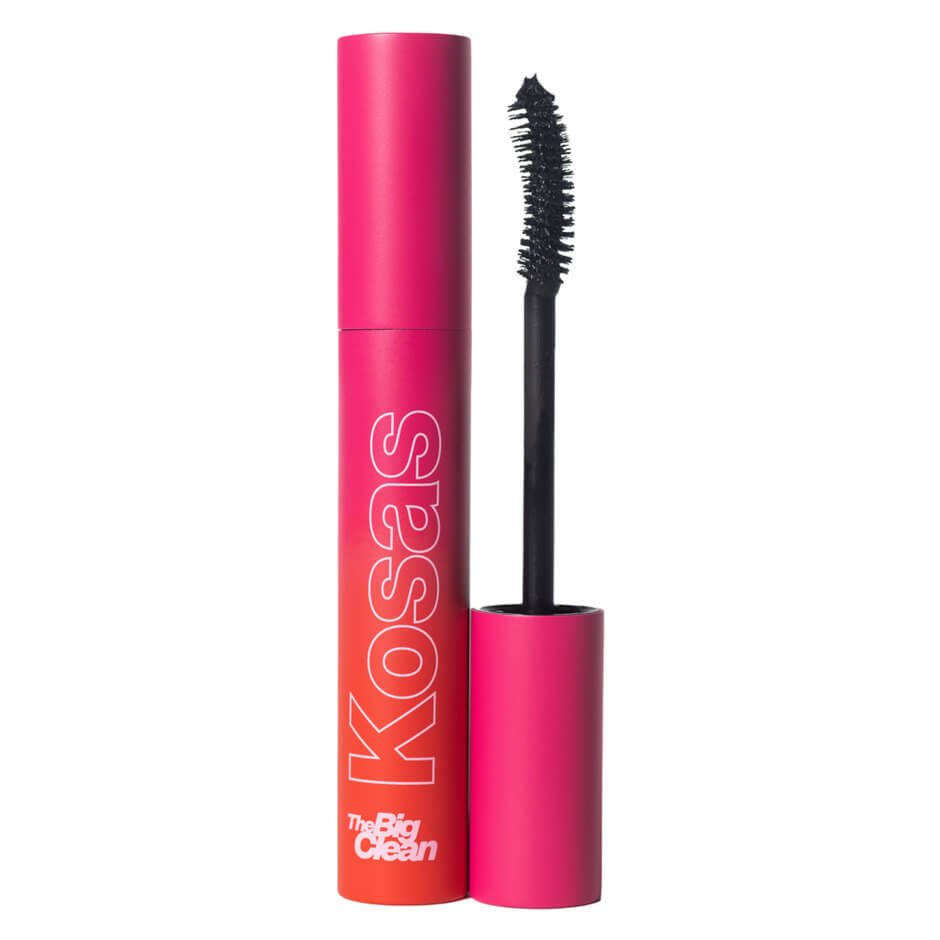
Kosas The Big Clean Volumizing + Lash Care Mascara, $38. SHOP NOW
For Curl:
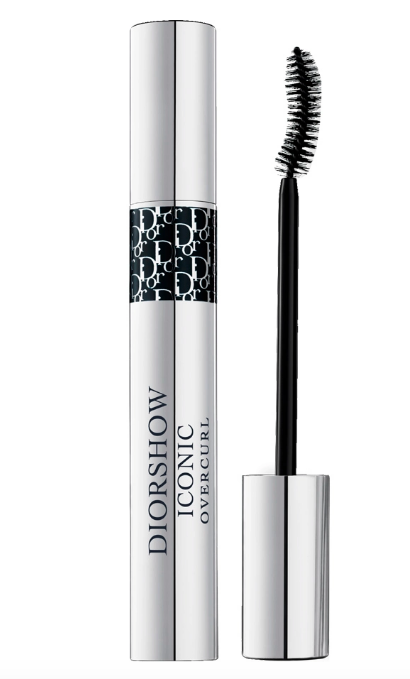
Dior Diorshow Iconic Overcurl Mascara, $56. SHOP NOW
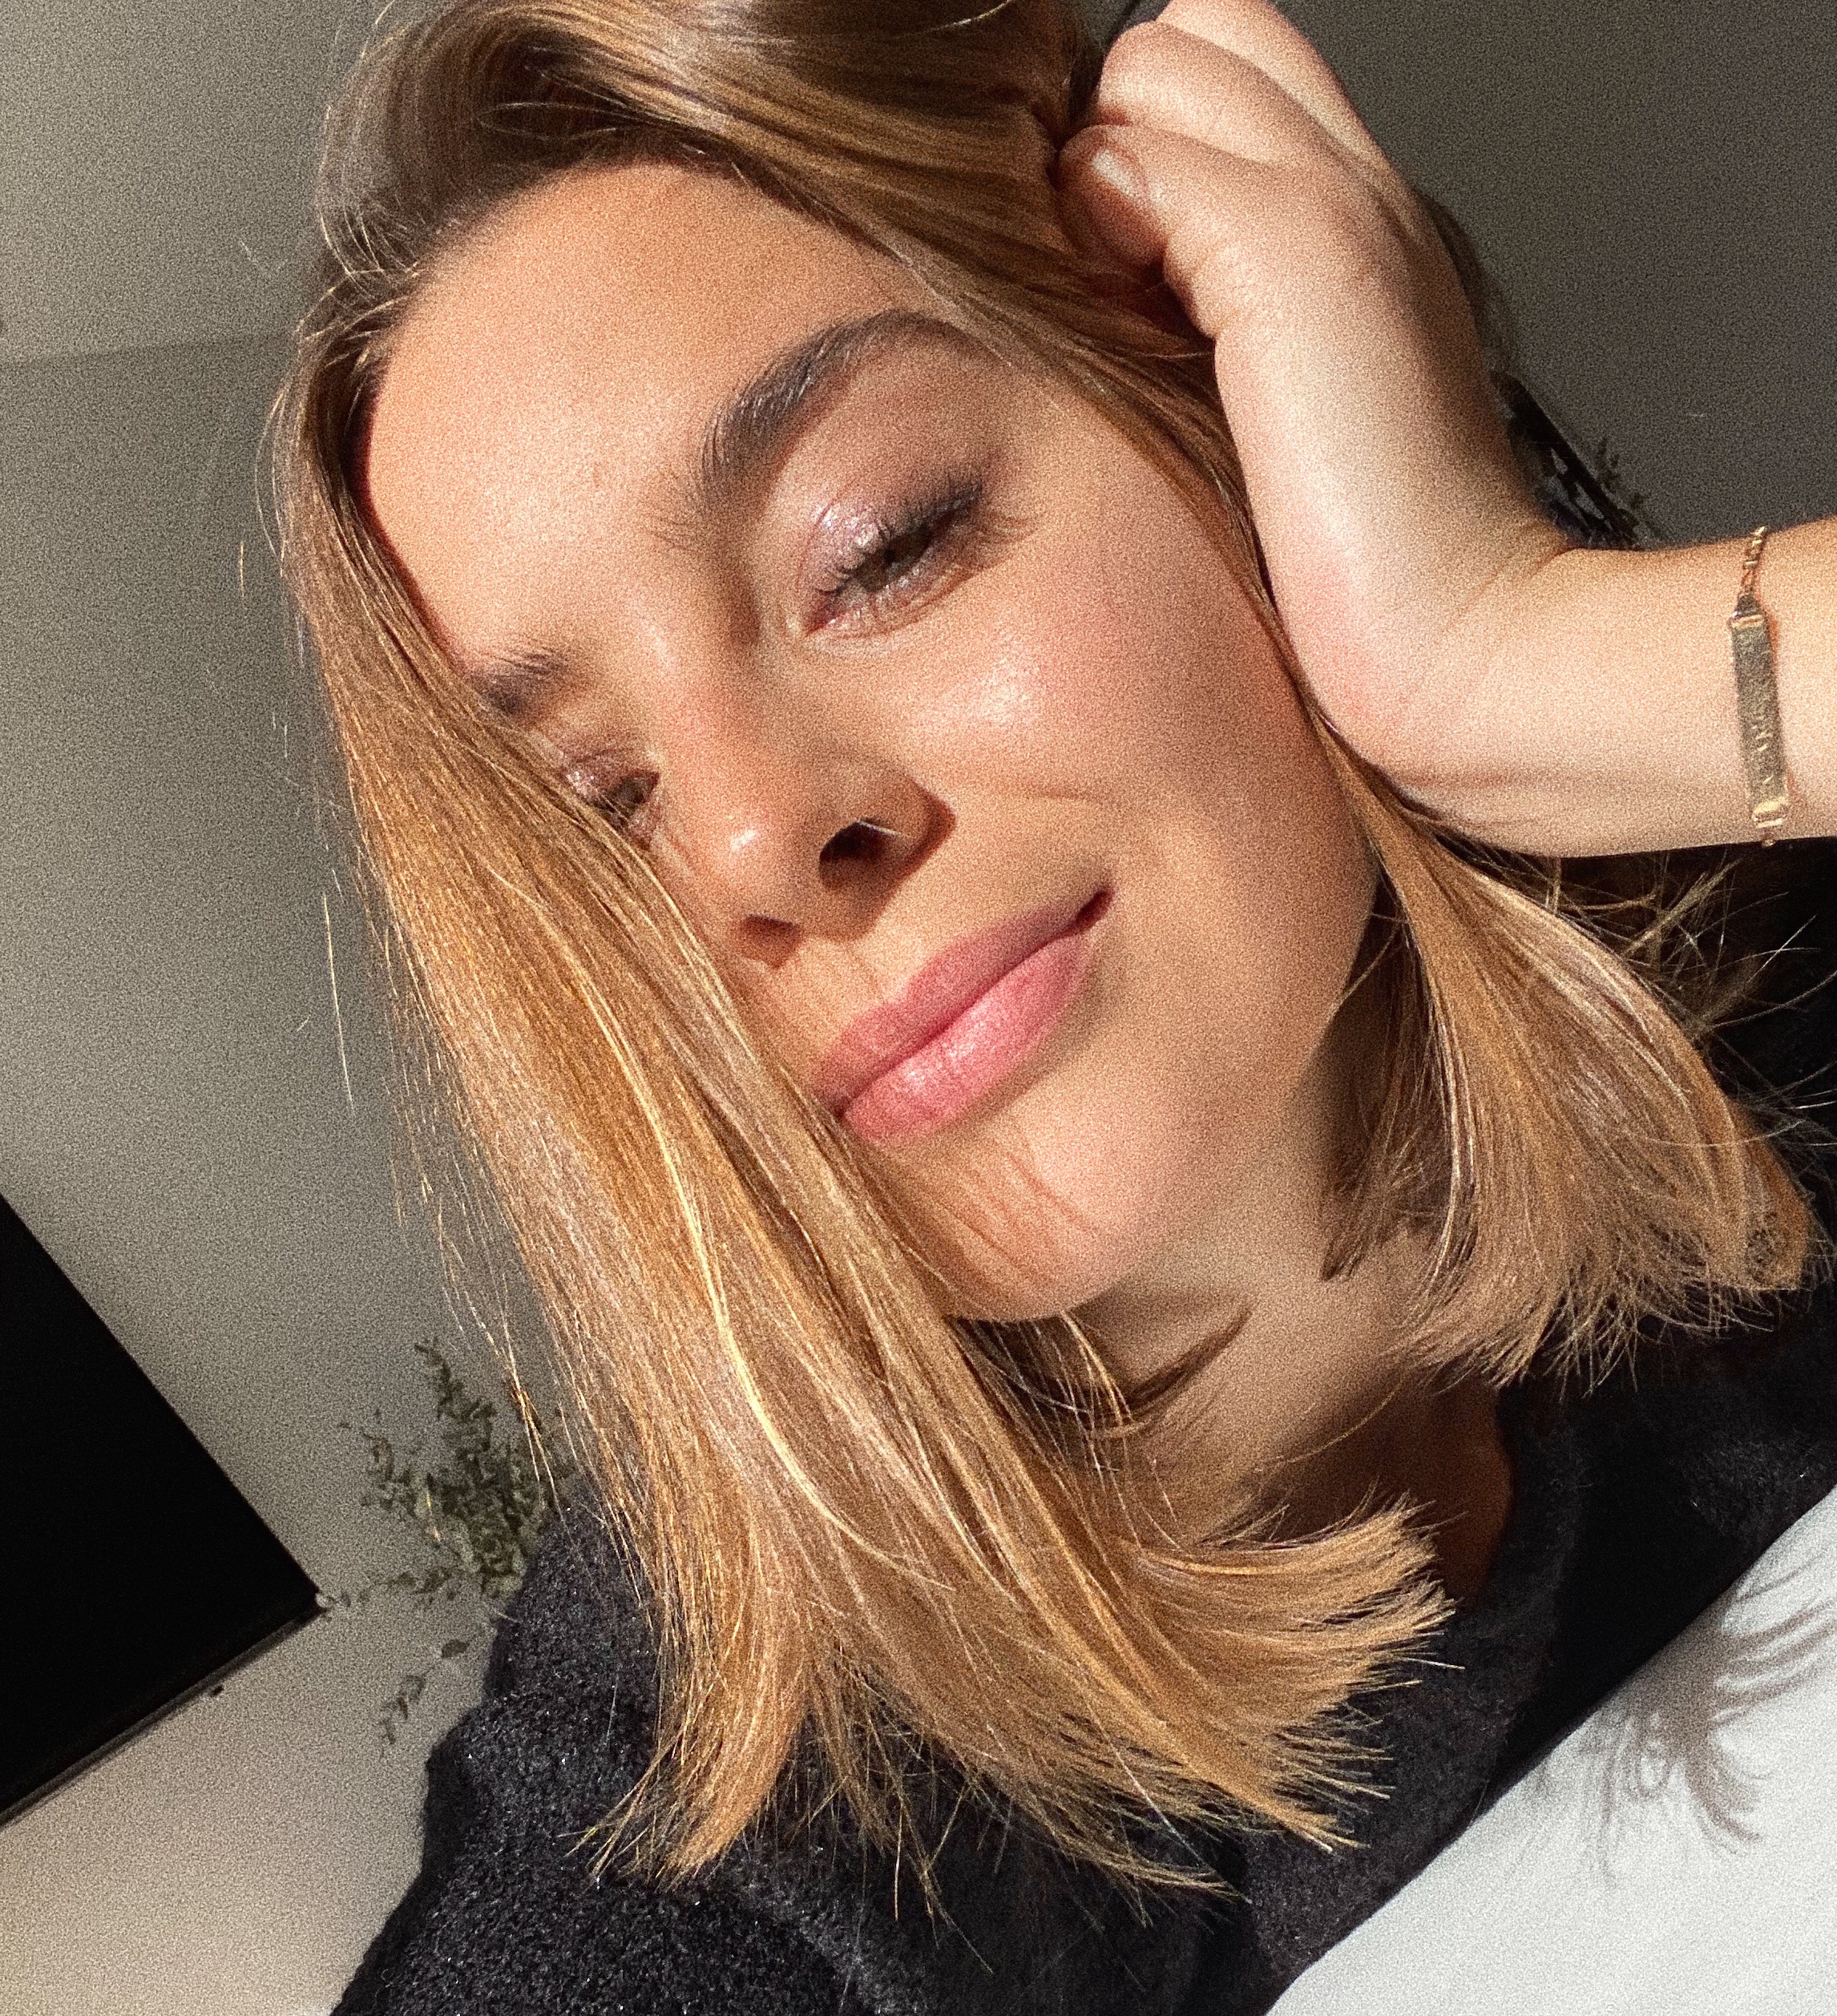
And that’s it! Long, fluffy, curly, Bambi-lashes!


